YotaKid
Teen Taco Driver
Well I have an old build on TW, but i figure I'll share it here as well. Hopefully I'll do a little better job on this page, but it will basically be copied from there.
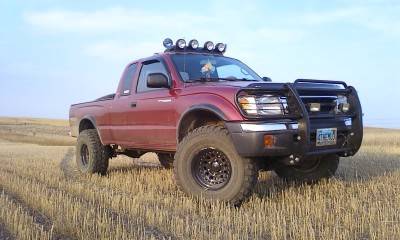
The first toyota we got was my mom's 2000 4runner, and since then we've been pretty much a toyota family since. I got my tacoma 2 years ago July (2011) and I've been in love with the freakin thing since, modding every chance I get. It's turned into a mall crawler/semi capable/budget/highschool build. (I appologize in advance for the horrible pictures).
So here we go...
Specs:
2000 Xtra cab Tacoma
3.4L
TRD Package
Tow Package
Day I brought it home (bone stock)
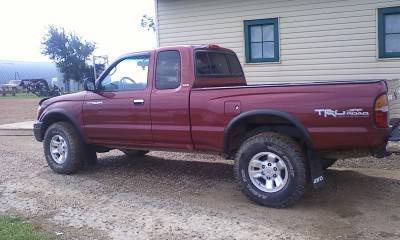
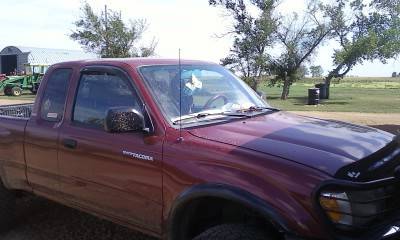
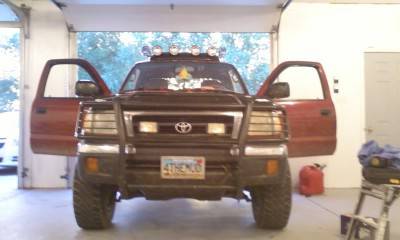
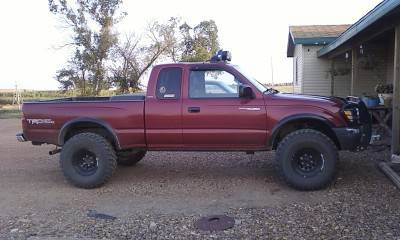
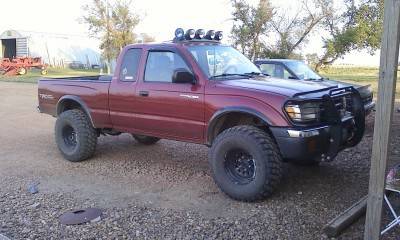
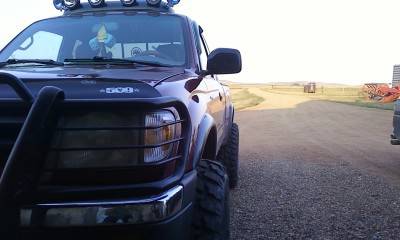
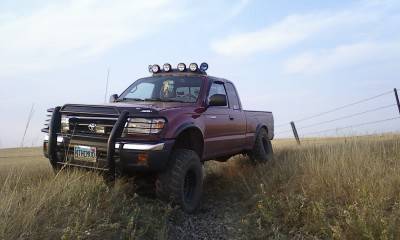
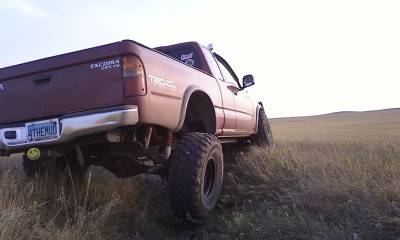
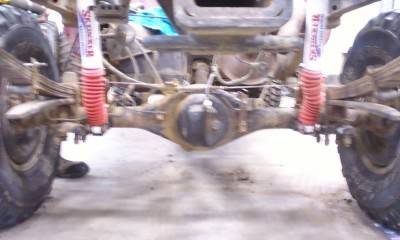
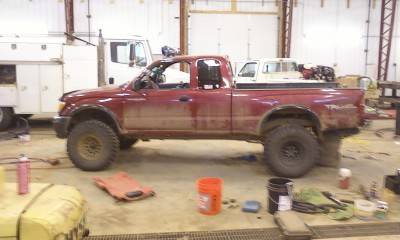
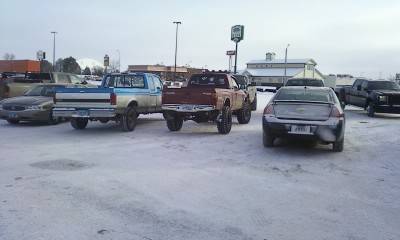
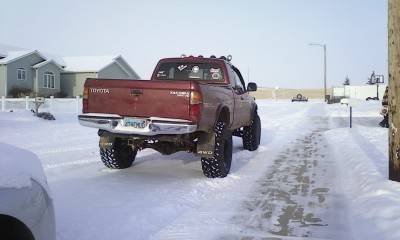
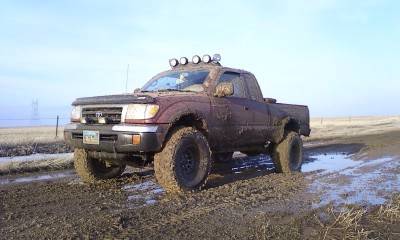
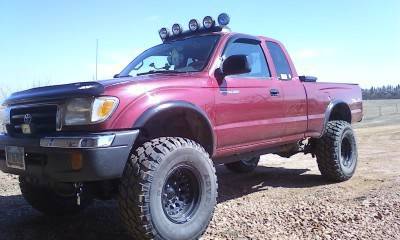
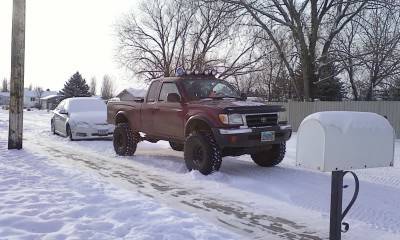
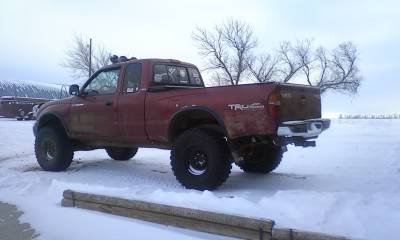
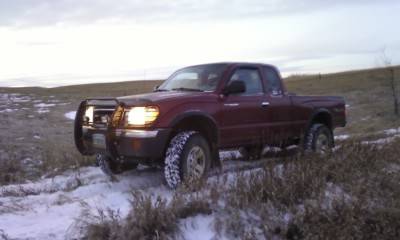
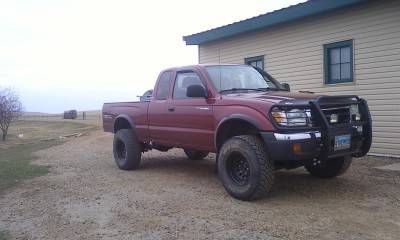
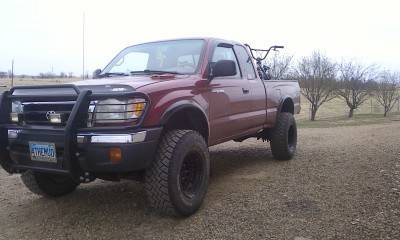
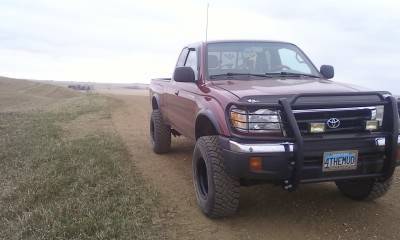
As it sets today:
Mod List
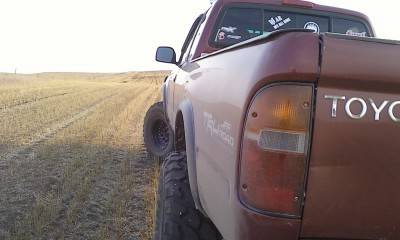
Wheels'n'tires
33x12.50 GT radial Adventuro M/t's - $775
Outlaw 15x10 3.5 bs -$150
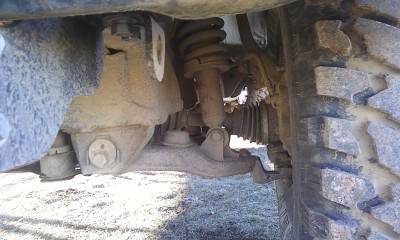
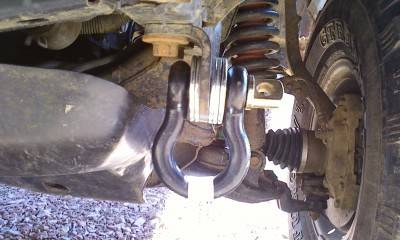
Suspension/lift
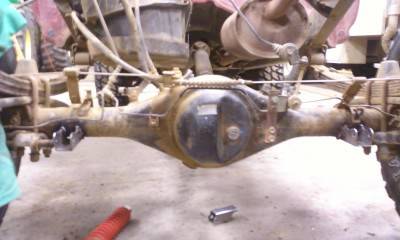
3" coilover spacer- $150 (came with blocks which are no longer on the truck)
stock leaf Pack+2 Ford Leafs
2" body lift (don't hate) - $50 used from a TW member
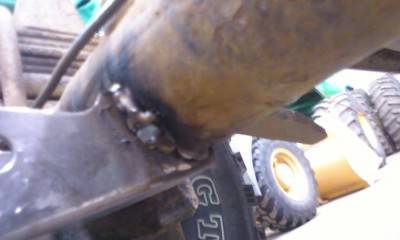
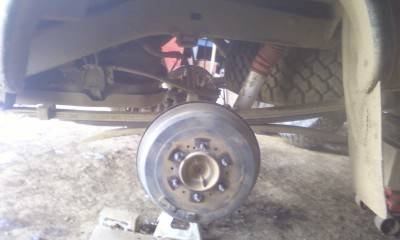
Relocated Shocks
Skyjacker Nitro rears- $90
Monroe Sensitrac fronts- $186
Audio
Kenwood Head unit- $200 installed
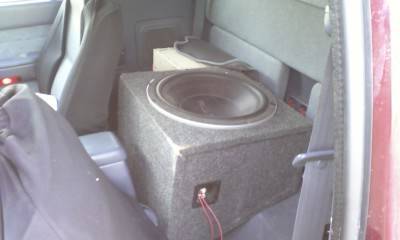
15" eclipse sub - free after working for a neighbor
760 watt pioneer amp - $60
Lighting
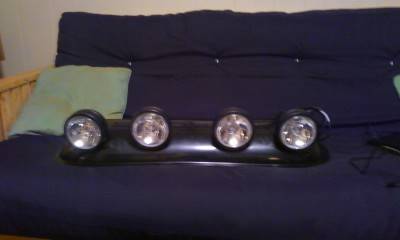
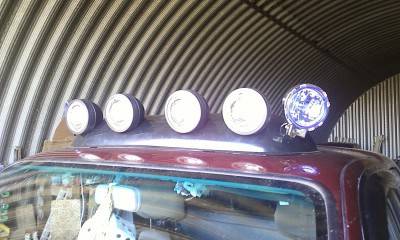
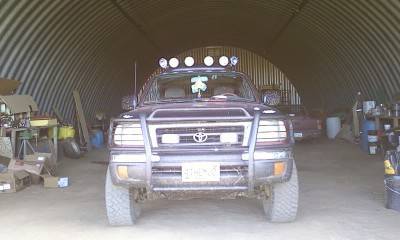
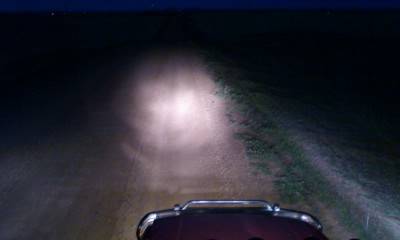
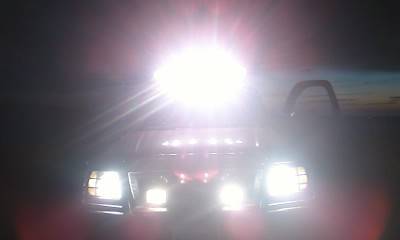
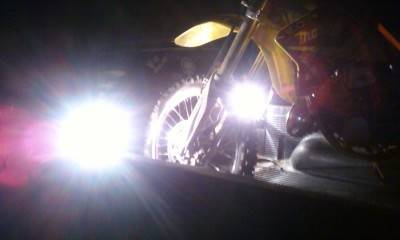
Ebay Lightbar- $70
blue lense O'reilly fogs- $20
Cheapo walmart fogs - $20
Other
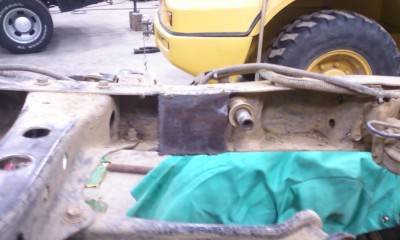
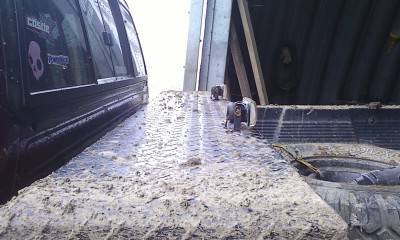
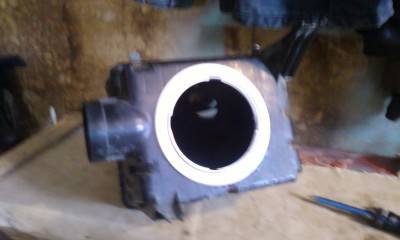
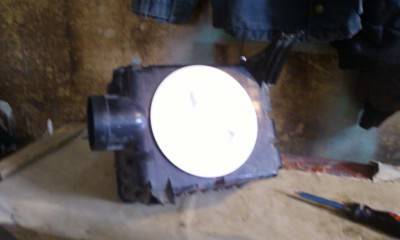
Deckplate mod-$15
Grey Wire mod- $0
Chopped antennae-$0
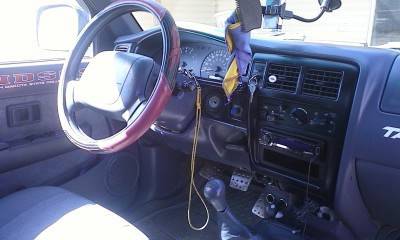
Billet Race Pedals-$20
Auto Accessories Seat covers-$20
Steering Wheel cover-Can't remember (cheap)
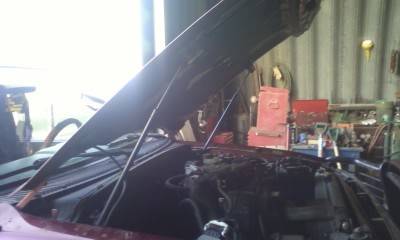
Pontiac Hood struts- free (junkyard)
Painted Rims- $30 about with all the paint, primer, wire wheels, sandpaper, and clearcoat
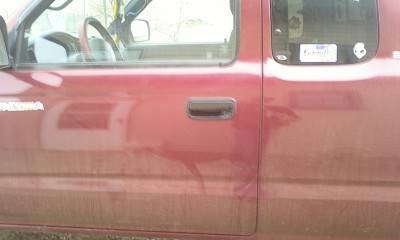
Blacked out Door handles - Leftover paint from the rims
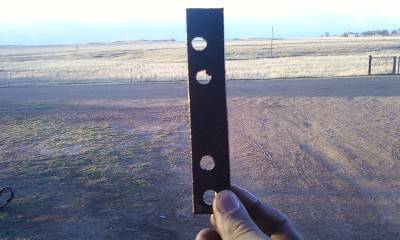
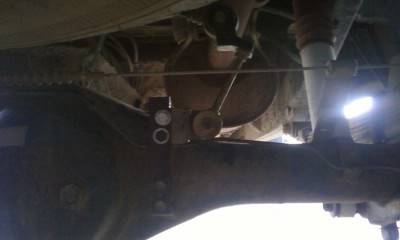
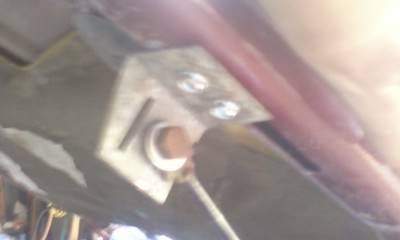
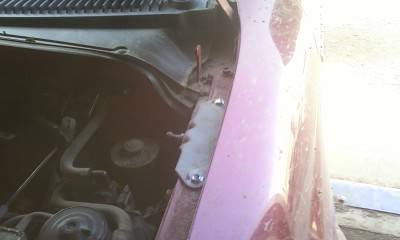
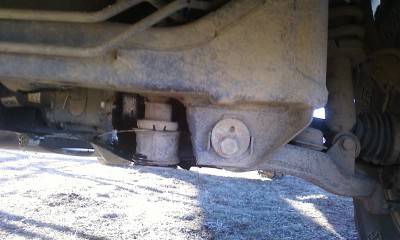
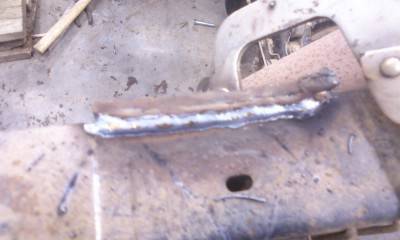
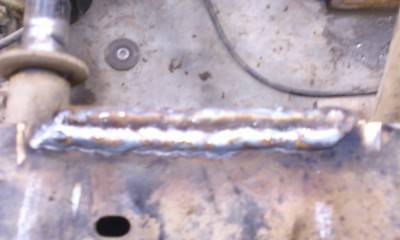
BPV bracket - $0 (scrap metal)
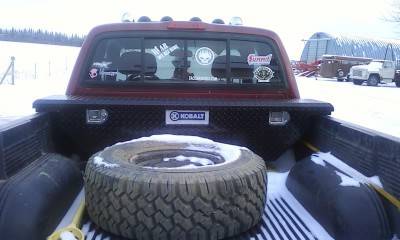
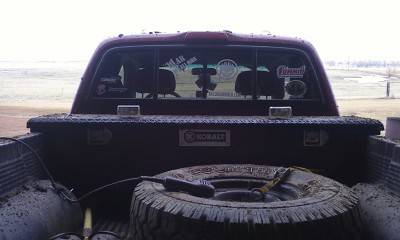
Kobalt Low-Pro toolbox - xmas present
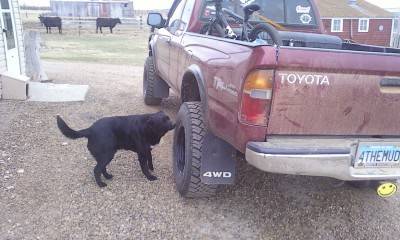
Pictures! (no particular order)
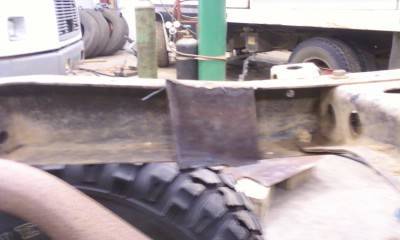
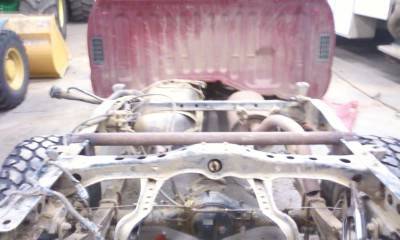
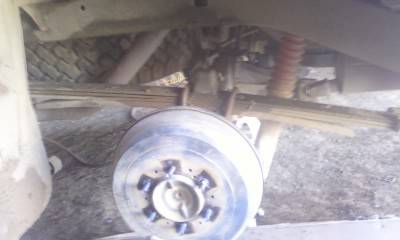
3" lift spacers/blocks
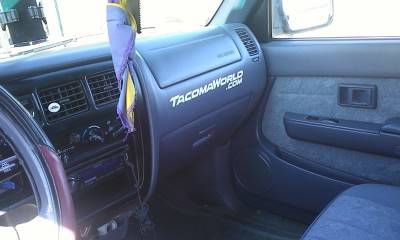
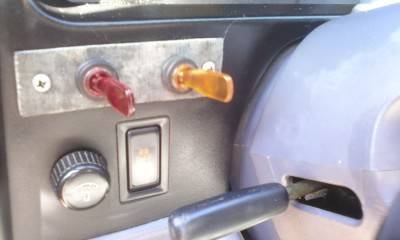
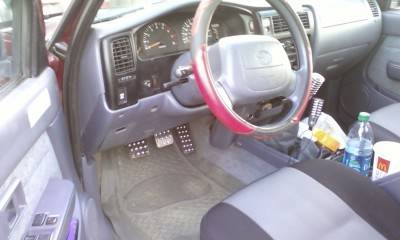
Interior
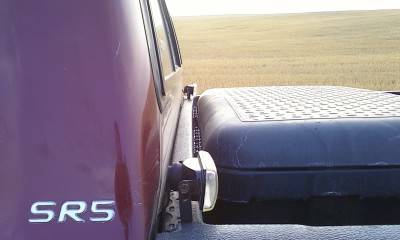
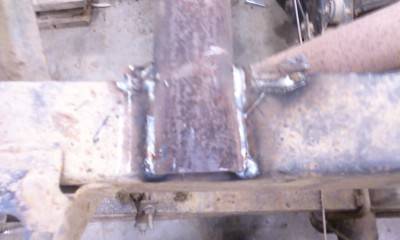
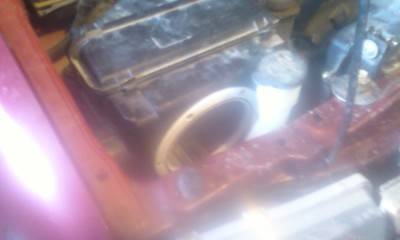
Deck Plate mod
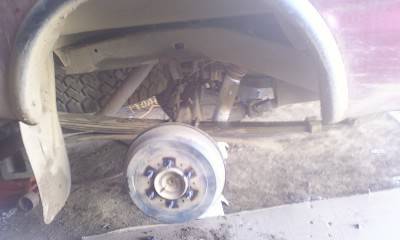
Leaf Packs
Before (horrible negative arc)
Salvaged ford springs
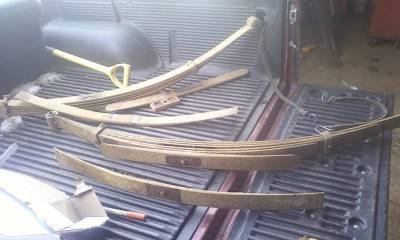
After- Set my stance at a slight rake, so they gave me about 3" of lift and the ride is a little stiff, but not harsh. It rides amazing with a couple hundred lbs in the back.
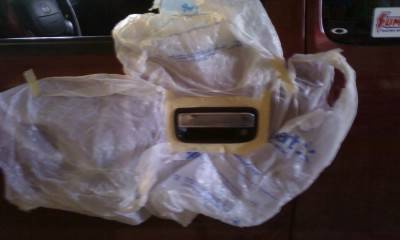
Door handles
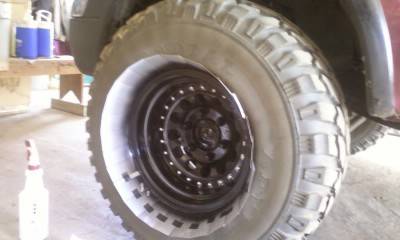
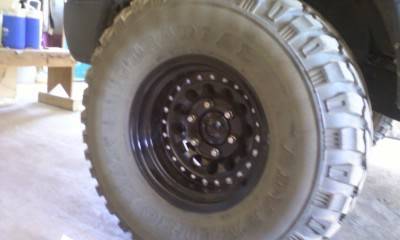
Rims
$150- I've been told eagle alloys, American racing outlaw series, but idfk exactly what they are. 15x10 with 3.5 BS aluminum rims.

It wasn't until after I got them that I discovered one had about a 1/2" long crack going down from the edge of the bead. I don't have a pic, but it isn't bent, just cracked (don't ask how, I have no Idea). I think a mig welder at school with an aluminum spooler should do the job, and once they get balanced they should be fine.
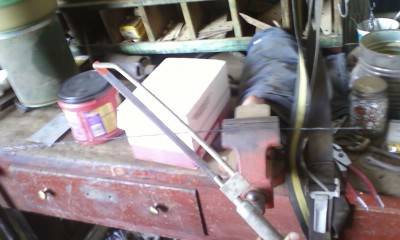
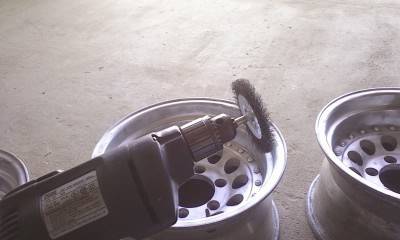
Cleaned 'em up with a drill wire wheel.
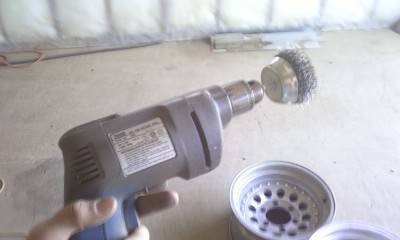
Got a smaller one for touch up.
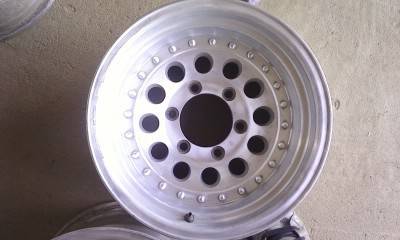
Then sandpaper, and paint thinner.
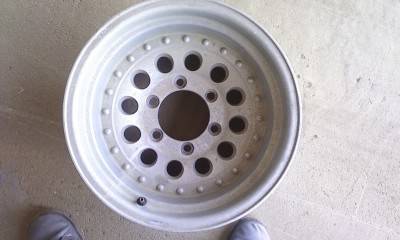
Before:
After
About 3 coats primer, 4 coats paint, 3-4 coats wheel coating later:
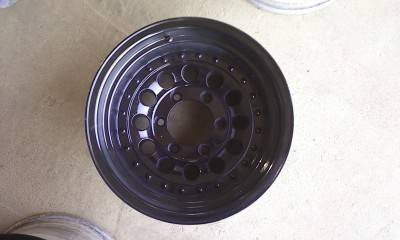

(note: i didn't think it would pay to do the whole wheel, so I just did the outside face. Why paint anything but the part you will see?
And I have since painted the rivets silver for a nice accent.
Mounted with my old 31x10.50's
The first toyota we got was my mom's 2000 4runner, and since then we've been pretty much a toyota family since. I got my tacoma 2 years ago July (2011) and I've been in love with the freakin thing since, modding every chance I get. It's turned into a mall crawler/semi capable/budget/highschool build. (I appologize in advance for the horrible pictures).
So here we go...
Specs:
2000 Xtra cab Tacoma
3.4L
TRD Package
Tow Package
Day I brought it home (bone stock)
As it sets today:
Mod List
Wheels'n'tires
33x12.50 GT radial Adventuro M/t's - $775
Outlaw 15x10 3.5 bs -$150
Suspension/lift
3" coilover spacer- $150 (came with blocks which are no longer on the truck)
stock leaf Pack+2 Ford Leafs
2" body lift (don't hate) - $50 used from a TW member
Relocated Shocks
Skyjacker Nitro rears- $90
Monroe Sensitrac fronts- $186
Audio
Kenwood Head unit- $200 installed
15" eclipse sub - free after working for a neighbor
760 watt pioneer amp - $60
Lighting
Ebay Lightbar- $70
blue lense O'reilly fogs- $20
Cheapo walmart fogs - $20
Other
Deckplate mod-$15
Grey Wire mod- $0
Chopped antennae-$0
Billet Race Pedals-$20
Auto Accessories Seat covers-$20
Steering Wheel cover-Can't remember (cheap)
Pontiac Hood struts- free (junkyard)
Painted Rims- $30 about with all the paint, primer, wire wheels, sandpaper, and clearcoat
Blacked out Door handles - Leftover paint from the rims
BPV bracket - $0 (scrap metal)
Kobalt Low-Pro toolbox - xmas present
Pictures! (no particular order)
3" lift spacers/blocks
Interior
Deck Plate mod
Leaf Packs
Before (horrible negative arc)
Salvaged ford springs
After- Set my stance at a slight rake, so they gave me about 3" of lift and the ride is a little stiff, but not harsh. It rides amazing with a couple hundred lbs in the back.
Door handles
Rims
$150- I've been told eagle alloys, American racing outlaw series, but idfk exactly what they are. 15x10 with 3.5 BS aluminum rims.
It wasn't until after I got them that I discovered one had about a 1/2" long crack going down from the edge of the bead. I don't have a pic, but it isn't bent, just cracked (don't ask how, I have no Idea). I think a mig welder at school with an aluminum spooler should do the job, and once they get balanced they should be fine.
Cleaned 'em up with a drill wire wheel.
Got a smaller one for touch up.
Then sandpaper, and paint thinner.
Before:
After
About 3 coats primer, 4 coats paint, 3-4 coats wheel coating later:
(note: i didn't think it would pay to do the whole wheel, so I just did the outside face. Why paint anything but the part you will see?
And I have since painted the rivets silver for a nice accent.
Mounted with my old 31x10.50's
Last edited: